In our previous article MS SQL Logging and Recovery
we showed how the logging mechanisms and recovery of MS SQL work. In this article we provide a demonstration of how log files work.
The following steps demonstrates log file shrinking. Follow these steps in Microsoft SQL Management Studio.
Step 1
Create database:
create database [clounce]
In the newly created database, create a test table:
use clouncegocreate table t1 (id integer)
go
Step 2
Change the recovery model to full:
alter database [clounce] set recovery full
go
Step 3
Use sp_helpfile command to monitor the current file size:
exec sp_helpfile
 |
Step 4
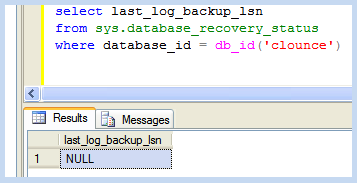
Since we never made a full database backup, the database should be in autotruncate mode:
select last_log_backup_lsnfrom sys.database_recovery_status
where database_id = db_id('clounce')
 |
The NULL value indicates that there was no backup performed.
Step 5
At this point, adding data to the database would not increase the log file size. This is because the database is running in autotruncate mode.
To add 100 rows to t1 execute the following:
declare @counter int
set @counter = 0
while @counter < 100
begininsert into t1 values(@counter)
set @counter = @counter + 1
end
Step 6
Perform a full system backup:
backup database [clounce] to disk=N'c:\clounce.bak' with format
Step 7
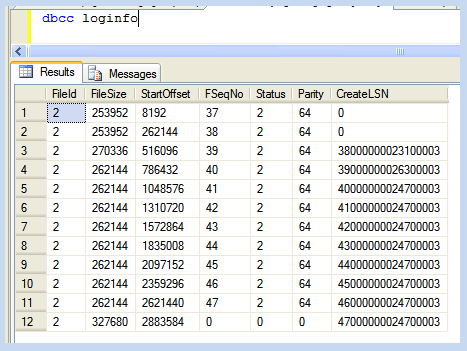
Populate table again and monitor log file size using sp_helpfile. Once the log file grows, run dbcc loginfo and you should see a lot of VLFs with status 2.
declare @counter int
set @counter = 101
while @counter < 5000
begininsert into t1 values(@counter)
set @counter = @counter + 1
endexec sp_helpfile
 |
dbcc loginfo
 |
Step 8
Perform another full system backup:
backup database [clounce] to disk=N'c:\clounce.bak'
Note that the running the select statement in step 4 again now will return a value.
Step 9
Perform a transaction log backup:
backup log [clounce] to disk=N'c:\clounce.bak'
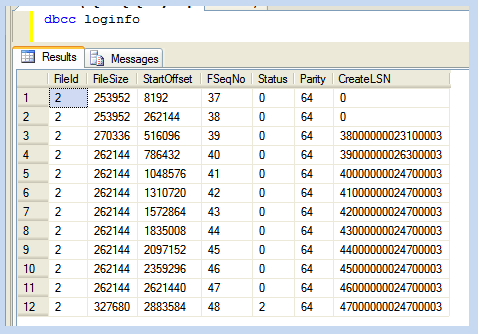
Running dbcc loginfo now will show those VLFs which were with state 2 as 0.
 |
Step 10
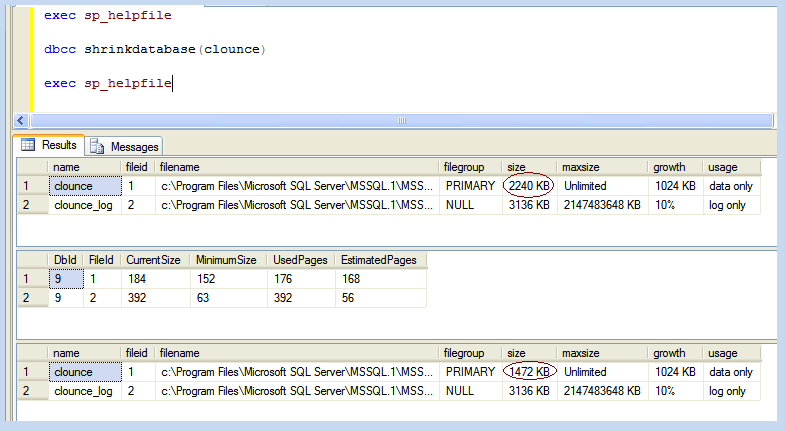
Shrink the database to release back the white space occupied by the log file:
 |
